- Installation
- Download ZAP from here.
- Install and open ZAP
- Installing certificate
Since all requests and responses are proxied by ZAP, the certificate verification will fail for sites using SSL (HTTPS) and the connection will be terminated. To prevent this from happening, ZAP generates an SSL certificate for each host, signed by its own Certificate Authority (CA) certificate. This CA certificate is generated the first time ZAP is run, and is stored locally. To use the ZAP Proxy with these websites, you will need to install ZAP’s CA certificate as a trusted root in your device.
- Go to Tools>Options>Dynamic SSL Certificate. Click Generate and then click Save.
- Save the certificate in the desired location. Make sure the file has a .cer extension
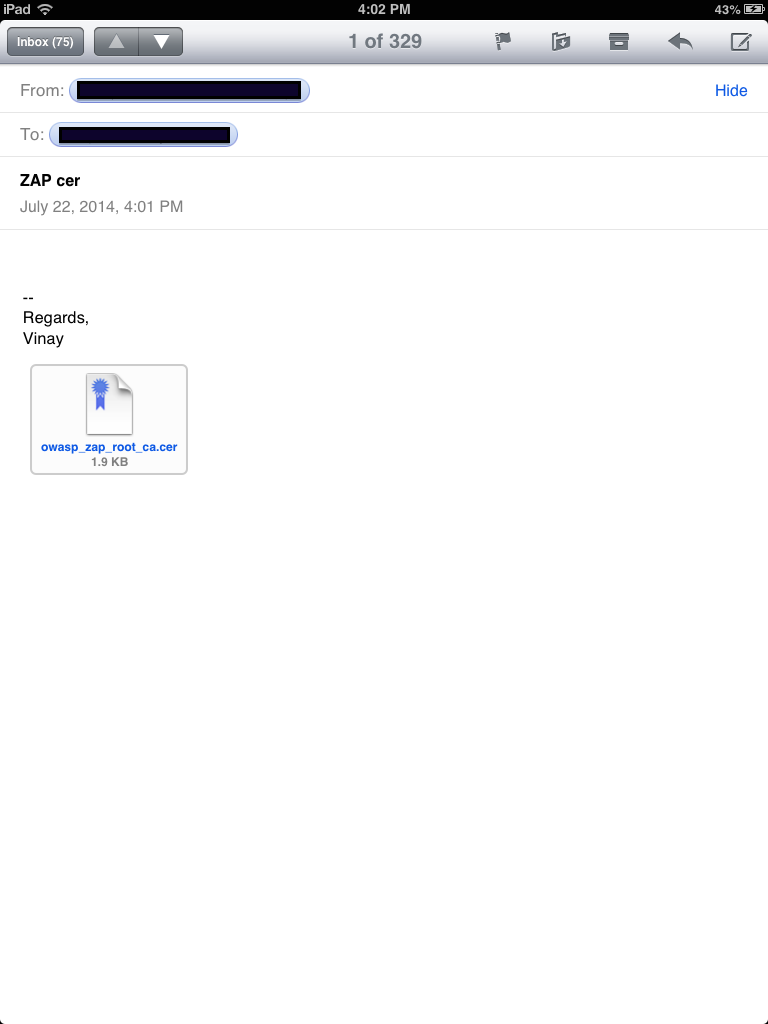
- Send the certificate to the apple device (This can be done via email)
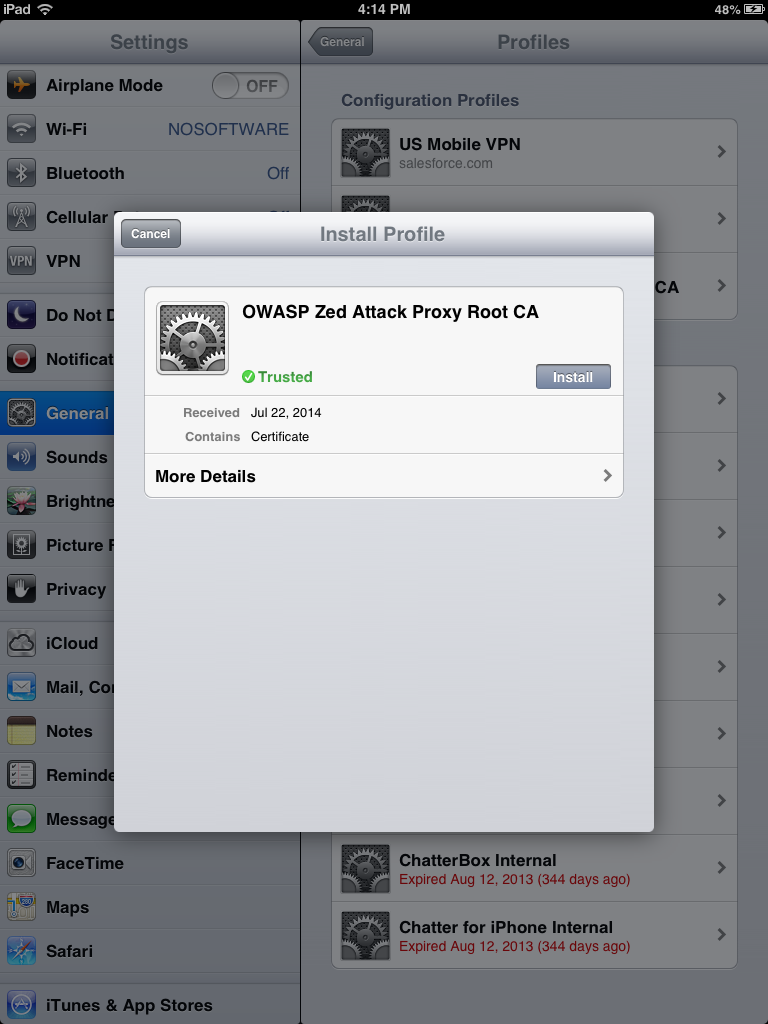
- Upon receiving the certificate, click on it to open the certificate and follow the steps below
- Configuring Proxy
- Connect your laptop/PC to a known Wifi network (This works best on a dedicated router.)
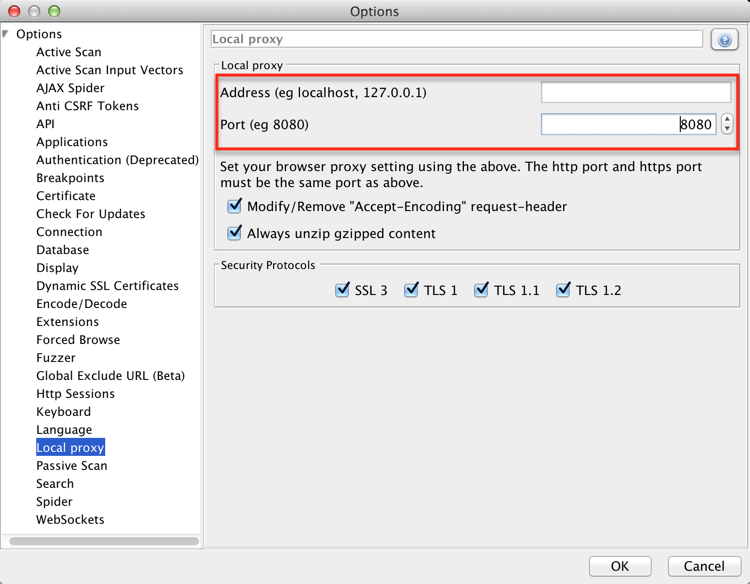
- In the ZAP UI, go to Tools>Options>Local Proxy
- Set the Address to Blank
- Set the port number to a port of your choosing (preferably 8080)
- Find out the IP address of your laptop/PC (Use ipconfig in command line for windows, ifconfig in terminal for mac/linux)
- On your Apple device go to Settings>Wifi>(select the same network used by your laptop)
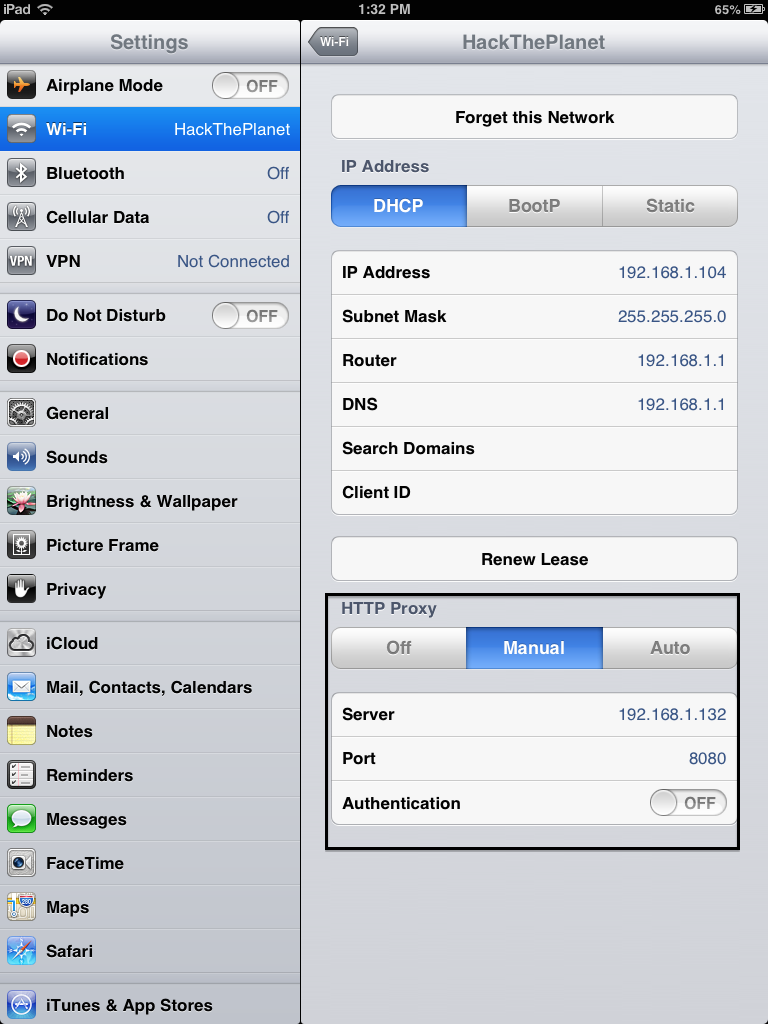
- In the bottom you will find “HTTP Proxy”. Select manual.
- Type your computer’s IP address in the Server field, and enter the Port number selected earlier (8080). Authentication can be OFF.
- Click Back.
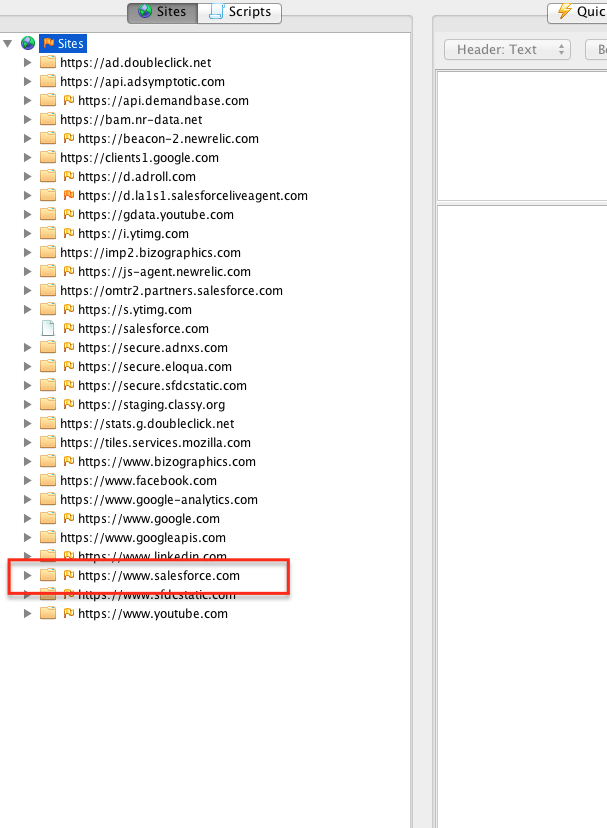
- Open any SSL website in the browser of your iPhone/iPad and make sure the site shows up below Sites list in ZAP