- Installation
- Download ZAP from here.
- Install and open ZAP
- Installing certificate
Since all requests and responses are proxied by ZAP, the certificate verification will fail for sites using SSL (HTTPS) and the connection will be terminated. To prevent this from happening, ZAP generates an SSL certificate for each host, signed by its own Certificate Authority (CA) certificate. This CA certificate is generated the first time ZAP is run, and is stored locally. To use the ZAP Proxy with these websites, you will need to install ZAP’s CA certificate as a trusted root for your device.
- Windows Applications
- Goto Tools>Options>Dynamic SSL Certificate. Click Generate and then click Save.
- Save the certificate in the desired location. Make sure the file has a .cer extension
- Follow the below steps to upload the saved certificate:
- Open the start menu, type certmgr.msc into the search box (For windows 7 and above) and then press Enter. If you're prompted for an administrator password or confirmation, type the password or provide confirmation.
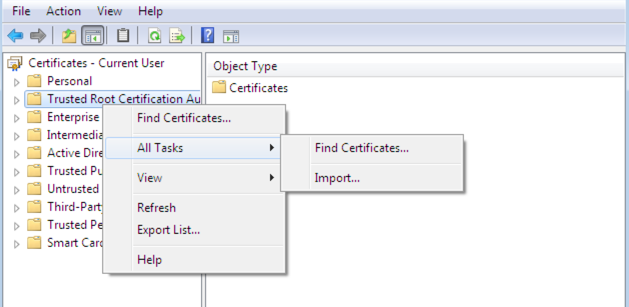
- Right click on “Trust Root Certification Authorities” > All tasks> Import
- Follow the wizard. When prompted for a file, select the file which was saved earlier. Choose the default options and complete the wizard. If there is security popup, click Yes to trust the certificate.
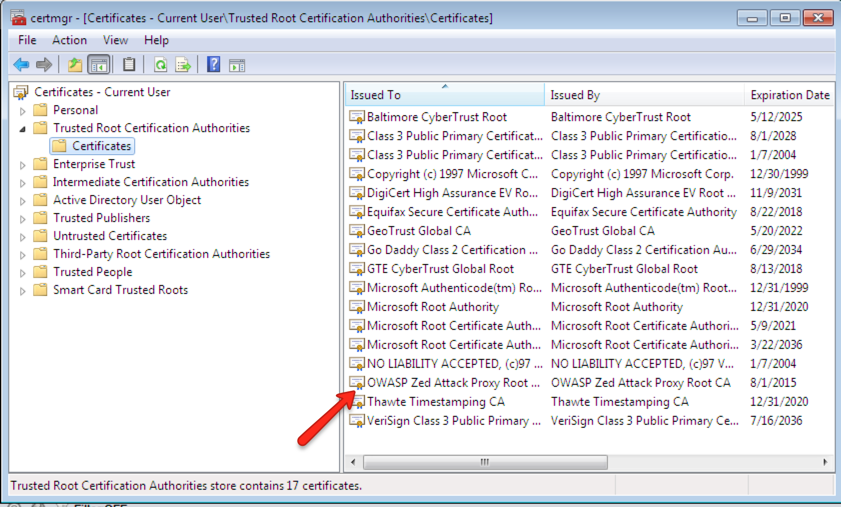
- If done properly, the ZAP certificate will be added to “Trusted Root Certification Authorities”
- Mac Applications
- Goto Tools>Options>Dynamic SSL Certificate. Click Generate and then click Save.
- Save the certificate in the desired location.
- Follow steps shown on Apple’s website
- Configuring Proxy
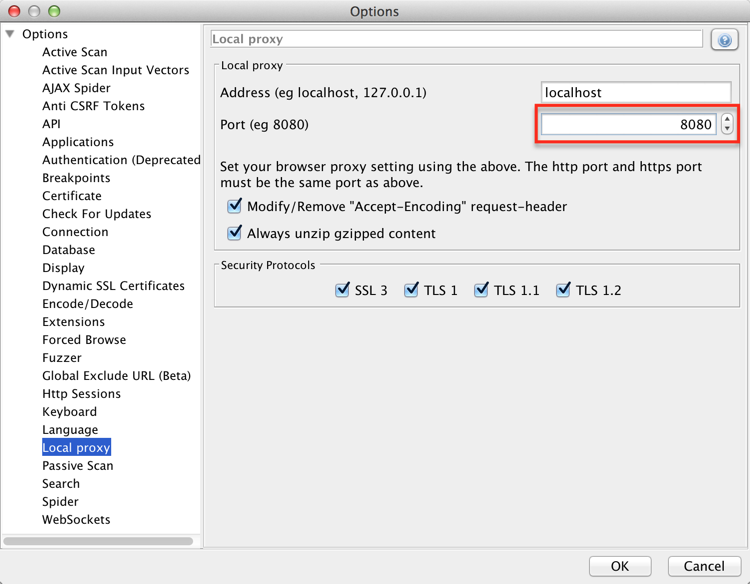
- In the ZAP UI, go to Tools>Options>Local Proxy
- Set Address to localhost
- Set port number to a port of your choosing (preferably 8080)
- Depending on your operating system, follow the steps below to configure the proxy
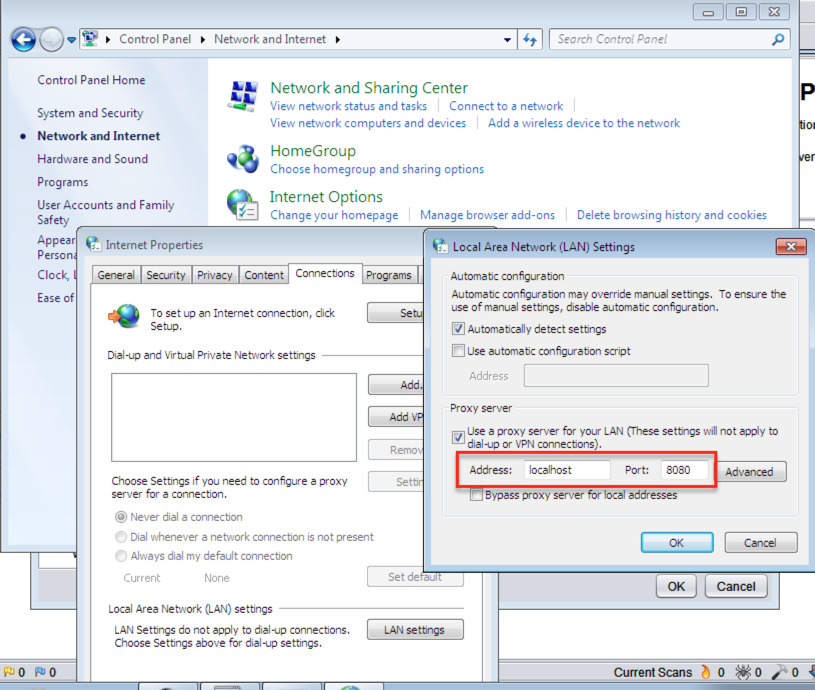
- Go to Control panel > Network and internet > Internet options
- Click the Connections tab, and then click LAN settings.
- Select the Use a proxy server for your LAN check box.
- In the Address box, type localhost.
- In the port box, type the same port selected for ZAP (8080)
- Click OK
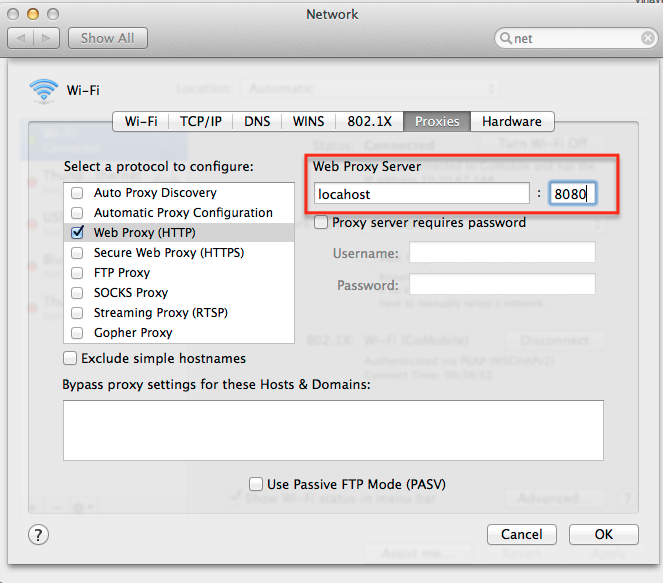
- Click on Apple menu > System Preferences, and then click Network.
- Choose the network service you use from the list, Ethernet or AirPort for example.
- Click Advanced, and then click Proxies.
- Select HTTP Proxy
- IP address can be localhost (127.0.0.1) and port address as selected before (8080). Password or authentication is not needed.
- Click OK.
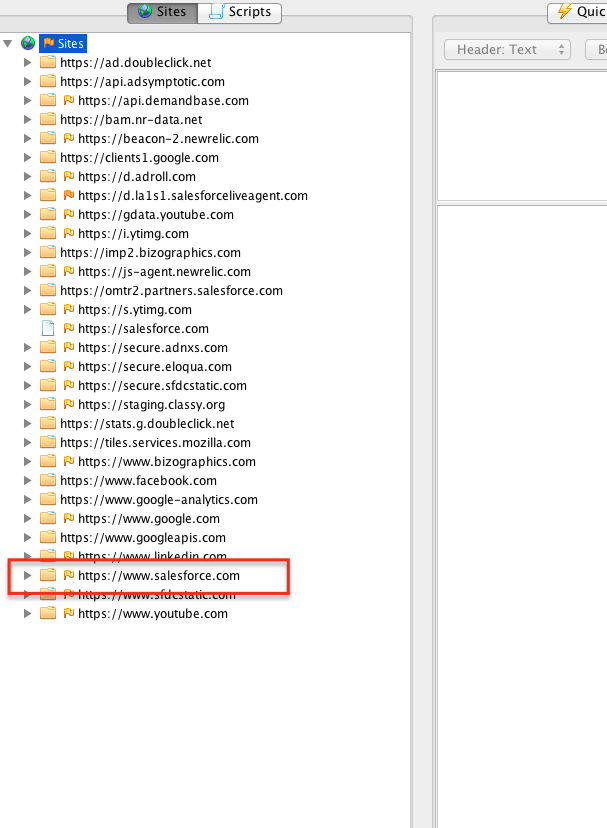
- Try to connect to internet via your app and make sure the site shows up below Sites list in ZAP